Video Analytics continuously scans your property and notifies you when a person, vehicle or animal is identified. Advanced detection rules enhance perimeter security by alerting you when someone's coming or going, or even loitering on your property.
With Video Analytics, you'll get enhanced notifications with thumbnail images showing people, vehicles, and animals. You can also use advanced detection rules to draw virtual tripwires across your driveway and virtual fenced-in zones on your property. Receive email and text notifications whenever:
- A vehicle pulls into the driveway/parking lot or a person walks up to an entrance
- Anyone loiters in a specific zone of a property
- A person or vehicle is identified outside a business after-hours
- A pet jumps up on the sofa or enters an off-limits flowerbed
- A child leaves the yard or someone drives off at night
Create a Rule with Video Analytics
Note: It is possible to create up to three Video Analytics rules on the same camera.
Add the Rule
Using the Alarm.com app:
1. Log into the Alarm.com app.
2. Tap Video.
3. Tap the Settings icon.
4. Tap Recording Rules.
5. Tap Add New Rule.
6. Tap Video Analytics.
Using the Alarm.com customer website:
1. Log into the Alarm.com customer website.
2. Click Video.
3. Click Recording Rules.
4. Click Add New Rule.
5. Click to select Video Analytics.
Rule selection
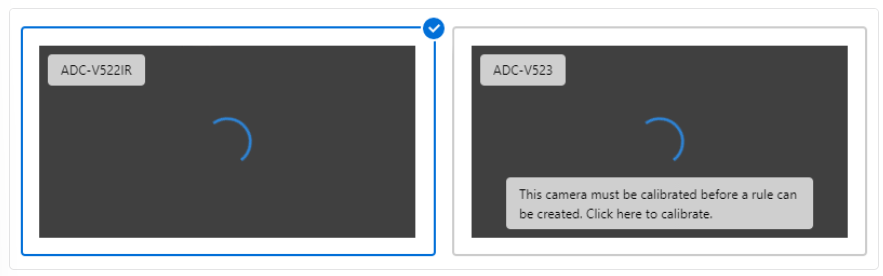
1. Click to select the desired camera. If the camera needs to be calibrated, you are directed to the Calibrate page.
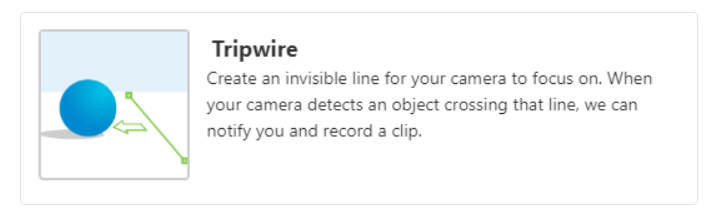
A. Use aTripwire rule when you expect a target to cross through the camera’s field of view or when objects enter or exit an area (e.g., a car pulling into or backing out of a driveway).
Select the camera scene
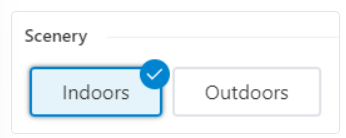
1. In Scenery, click to select Indoors or Outdoors based on where the camera is installed. The camera should be marked outdoors if it will be exposed to rain, snow, spider webs, or moving trees and set to indoors if in a controlled outdoor environment (e.g., a screened-in porch).
This selection must be the same across all recording rules associated with a specific camera
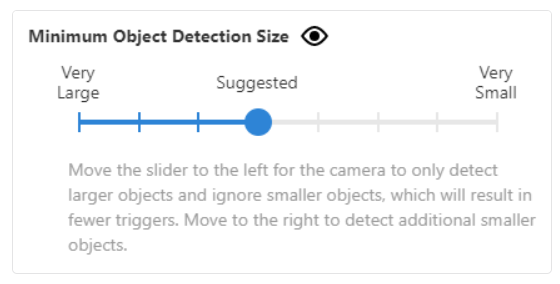
2. Use the Minimum Object Detection Size slider to adjust how small an object can be and still trigger a recording. It is recommended to keep this at its suggested value upon initial rule creation. Very Large captures the fewest recordings only of the largest objects, and Very Small captures the most recordings including large and small objects.
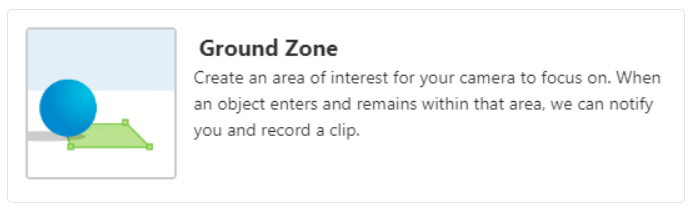
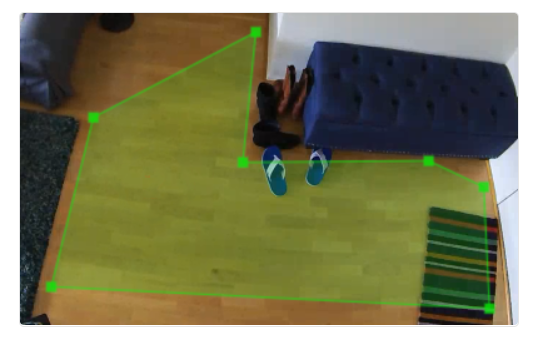
Configure Rule - Ground Zone
1. In the Rule Name field, enter a name for the recording rule.
2. Click and drag the corners area of interest and restart, click Clear ground zone to create a new area of interest with up to 28 points.
A. Click and hold inside the shape to move the shape itself.
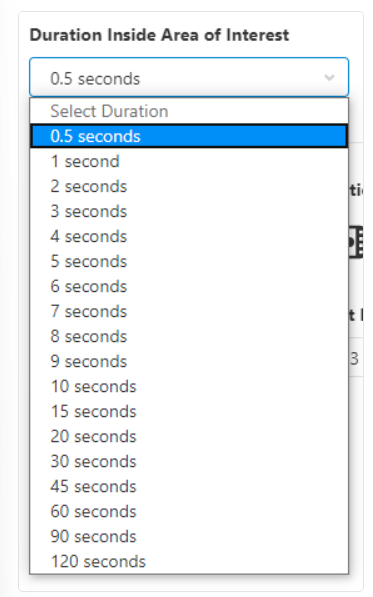
3. Using the Duration Inside Area of Interest dropdown menu, select the desired time an object needs to stay inside the Ground Zone to trigger a recording.
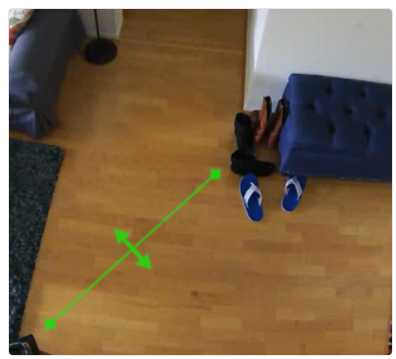
Configure Rule - Tripwire
1. In the Rule Name field, enter a name for the recording rule.
2. Click and drag the Tripwire to cover only the ground where the target's feet cross. The arrow determines which direction the object must be moving to trigger a recording. To clear the current Tripwire and restart, click Clear Tripwire.
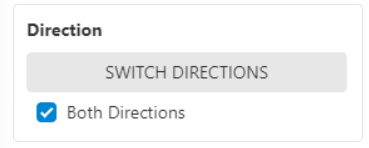
B. Click to select Both Directions to record when an object crosses the Tripwire regardless of which direction it is moving.